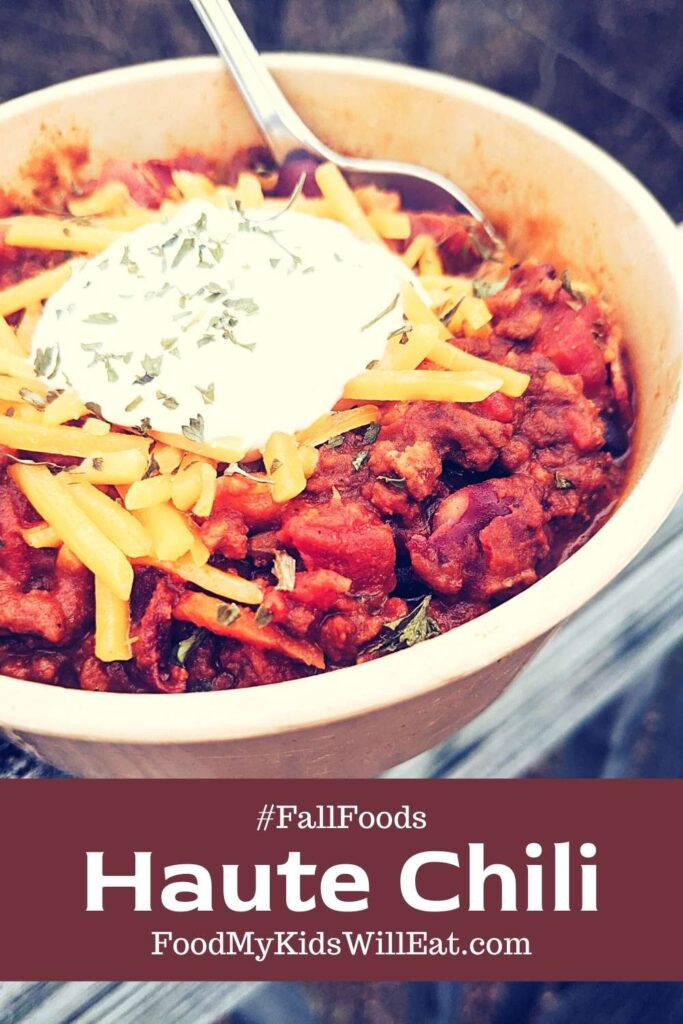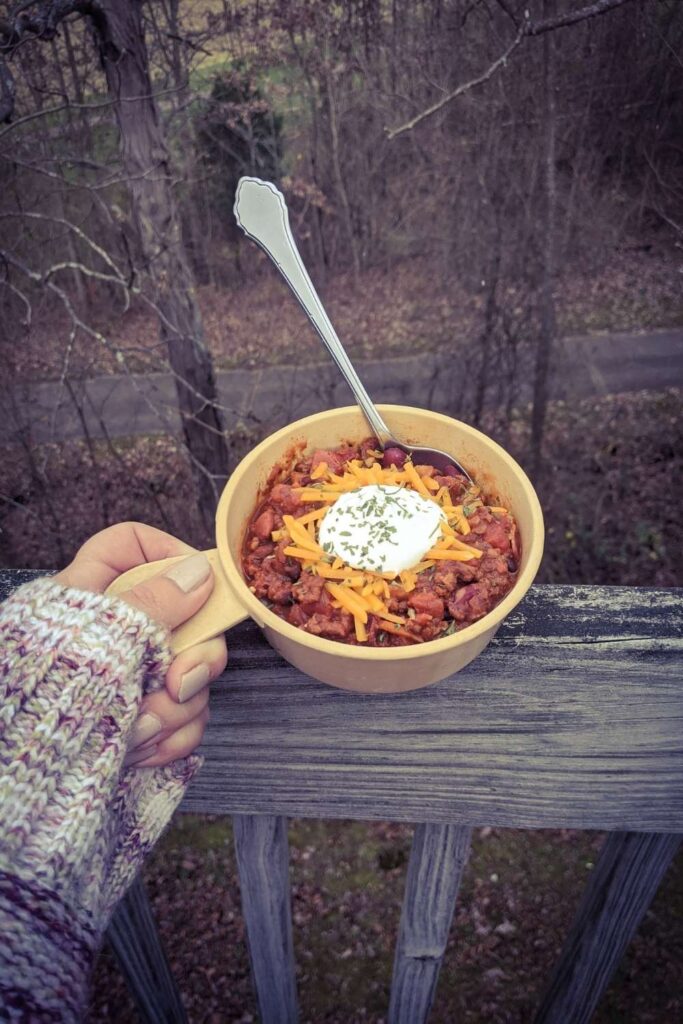

I’ve made several chili in my time, but this one is by far the best chili I’ve ever had. Top with cheddar and sour cream and I have me a movie night snack. It’s the best chili for kids because it’s not too spicy, but it still tastes like homemade. With my grocery hacks, it’s super easy – you can do it tired.

Haute Chili
Ingredients
- 5-10 Strips ish of Pre-Cooked Bacon Crumbled or Real Bacon Bits
- 2 -3 lbs ish of Ground Beef (try to aim for no more fattier than 80/20)
- 1 Can of Beef Stock
- 1 TBSP of Apple Cider Vinegar
- 2 -4 Cans of Rotel Mild Diced Tomatoes with Green Chilies bonus if you find Fire Roasted Tomatoes, or do 2 cans Rotel and 1-2 some other brand fire roasted
- 1-2 cans Black Beans drained and rinsed
- 1-2 cans Light Red Kidney Beans drained and rinsed
- 10 oz Diced Mirepoix carrots, celery, onion – I find it in Walmart’s Produce. OR you can chop a medium onion and other veggies optional.
- 4 tsp of minced garlic or 4 garlic cloves chopped up
- 1 TBSP Chili Powder
- 1 TBSP Adobo optional
- 1 tsp paprika
- 1 tsp cumin
- 1 small can of tomato sauce like 8 oz., optional, I just like to make mine redder because kids like red chili.
- Toppings: Shredded Cheddar and Sour Cream here
Instructions
- Grab a big 12 quart pot, and put the beef in it. Brown the beef over medium high heat. Season with something like Adobo, Chicago Steak Seasoning, or Montreal Steak Seasoning.
- If you went with 80/20 or less fatty, you can probably keep the meat grease. If you went fattier than that, you might want to drain the meat a little (not all).
- Add bacon, Mirepoix, and garlic. Basically, any fresh veggies. Let cook for about 3 minutes.
- Add Beef Broth, Apple Cider Vinegar, Tomatoes, Beans, and Seasoning (Chili Powder, Adobo, Cumin, Paprika). Bring to a small bubble (almost a boil but not quite).
- Once bubbly, reduce heat to medium low and let it sit there like that for an hour or so. The longer you let it cook, the more flavor and the redder it will get in time. But it’s ok if you just eat it once it’s warm it’s still good, but you know. I sometimes hit that up 20 minutes into it.
- About 5 minutes before you’re ready to eat, add the tomato sauce. I really simply do this step to make sure it’s red because you know how kids are.
Notes
Where did I get this Recipe?
I decided to try a new chili recipe simply because I forgot how I was making it, and this woman’s blog and Pinterest Pin is pretty. Really pretty. Ultimate Chili on Gimme Some Oven.
But I tweaked it early on due to availability of stuff I had AFTER going to the grocery store plus some laziness was involved… It might be a long story here but first go at it, I did not use beer. I did use Apple Cider Vinegar. I didn’t want to chop veggies, so I used a frozen bag of chopped onion, and I got canned tomatoes that had green chilies in them. I omitted jalapeno because my kids don’t all like spicy. And I used whatever beans that had the lowest carbs.
At some point, I found Fire Roasted Tomatoes with Green Chilies in a can. That one was the best. You can really taste a huge difference going Fire Roasted. But now I can’t find those cans anymore, and if IF I can find Fire Roasted Tomatoes at all, it’s a real toss up for me between “Do I want it to be really delicious? OR do I want the one with Chilies so I don’t have to chop veggies?” I end up doing both. It’s allowed to have lots of tomatoes.
As time went on, I really needed there to be leftovers. The kids really will eat all of it before I can eat all of it. I have noticed if I make less than 5 quarts of any soup, I get a little less than a serving. But if I make anything bigger than that, even just 5.5 quarts, it’s like the kids aren’t as interested and there’s oodles left over. So I bought a 12 quart pot and doubled the tomatoes and beans.
Chili and Diabetes
Some studies are showing Chili can help lower the heart rate and reduce the amount of insulin required to control blood sugar.
This Study showed that beans are good for diabetes as it helped gain better glycemic control and lower the risk of heart disease.
The American Diabetes Association considers beans a diabetes super food, but they suggest to either go dry beans, or at least thoroughly rinse canned beans to avoid the excess sodium.
The Ingredients
The ingredients are very flexible as always with chili. You won’t get the exact same flavor every time, but my kitchen is not a restaurant so it’s not really necessary. But I can tell you that this chili is better than my previous chili recipes. It’s better than Wendy’s Chili. And even when I switch it up a bit, it’s still better than Wendy’s Chili.
I will say Fire Roasted Tomatoes was definitely important. And I do think it was a slightly better recipe with less beans and tomatoes.
- Bacon – I prefer pre-cooked just because it’s easier to work with, and I don’t have to cook it first just to feel confident that it’s cooked.
- Beef – I usually just get the 2.25 pound pack of 80/20 at Walmart – just make sure you grab one from the bottom because you never know if someone put it back after being left out at room temp
- Veggies – Any vegetable medley you want to do will do. The Original Recipe (The OR) called for some peppers and onion that she chops up by hand. Me. I don’t wanna wash ma cuttin board. So I find things already chopped like frozen onion, or fresh onion/carrots/celery and cool I snuck in some Vitamin A… and I generally get tomatoes with chilies in them to avoid having to chop any peppers.
- Beans & Tomatoes – You really can go with any kind of bean or tomato. I usually do a 1:1 ratio, so for every can of beans, I also have a can of tomatoes. The OR calls for 2 cans of each, but I’ve been known to do 4 cans of each. I also like black beans and red kidney beans, and Fire Roasted Tomatoes are way better than normal tomatoes but you can find tomatoes with Chilies so you don’t have to grab a chili pepper. In the recipe, I say to drain and rinse the beans, and that also helped. With the bean goop, it’s a thicker and pastier chili. It just tasted cleaner when the beans are rinsed. Also, it reduces the sodium if you rinse the beans.
- Broth – The OR calls for beer and beef broth, but I do 1 can of beef broth and a TBSP of Apple Cider Vinegar. I’ve also been known to do 2 cups of water with 2 Beef Bouillon cubes.
- Seasoning – I use a TBSP of Adobo and Chili Powder, and a tsp of cumin and paprika. In Best Chili Powder Substitute, as I ran out of that once, after going to the store not knowing I was out, that link said the 2nd best substitute for every TBSP of chili powder is 2 tsp of Paprika, 1 tsp of Cumin, and 1/4 tsp of Cayenne. I didn’t have Cayenne, so I used 1/2 tsp of crushed red peppers. You can also add a little garlic powder and dried oregano.
- Toppings – I love shredded extra sharp cheddar and sour cream. But you can also consider the Original Recipe’s Ideas: “diced avocado, chopped fresh cilantro, diced green or red onions, shredded cheddar cheese, sour cream, lime wedges, and/or crumbled corn tortilla chips.”
How to Make Chili
First you want to cook the meats. To avoid dirtying any extra dishes, I usually cook the meats in the pot I want the entire chili to be in (usually my 12 quart pot). Because my bacon is precooked, I add it to the next step. But my beef is usually raw, so I go ahead and cook that. I season it with whatever I got that tastes like it would mesh well with Chili like any steak seasoning, garlic salt, adobo…
Second you want to add veggies. Drain whatever you need to with the meat, and then dump fresh crunchy veggies in. This is where I add my pre-cooked bacon, but also my onion, garlic, and any other fresh veggies.
After you kind of “browned the veggies,” third you want to add the liquids and canned stuff. So the beef broth and vinegar. Then you want to add the beans. I usually dump them in a strainer and rinse them and add those. Then the tomatoes, I just dump the can with all the juices in the pot.
Fourth, add the seasonings. Then bring to an almost-boil, then simmer it down to medium low heat depending on how long you want to cook this thing. Generally speaking >> The longer it simmers, the stronger the flavor. But if you and/or the kids are hungry, you might want the fastest way possible. For me, I try to aim for one hour simmering, but 20 minutes is enough.
Fifth, add tomato sauce if you want to make it more red because kids believe their eyes over their mouth.
Sixth, add toppings and serve.
And on the seventh day, she rested. Throw the pets who beg for food outside. Sit down. Chillax. Eat yo chili. In peace.
My article on storing leftovers in my domestic engineering category is the best way I have found to store the leftovers.